Create a new custom field and add it to the Issue Right Panel in a Jira project

To create a new custom field and add it to the Issue Right Panel in a Jira project, follow these steps:
Create a new custom field
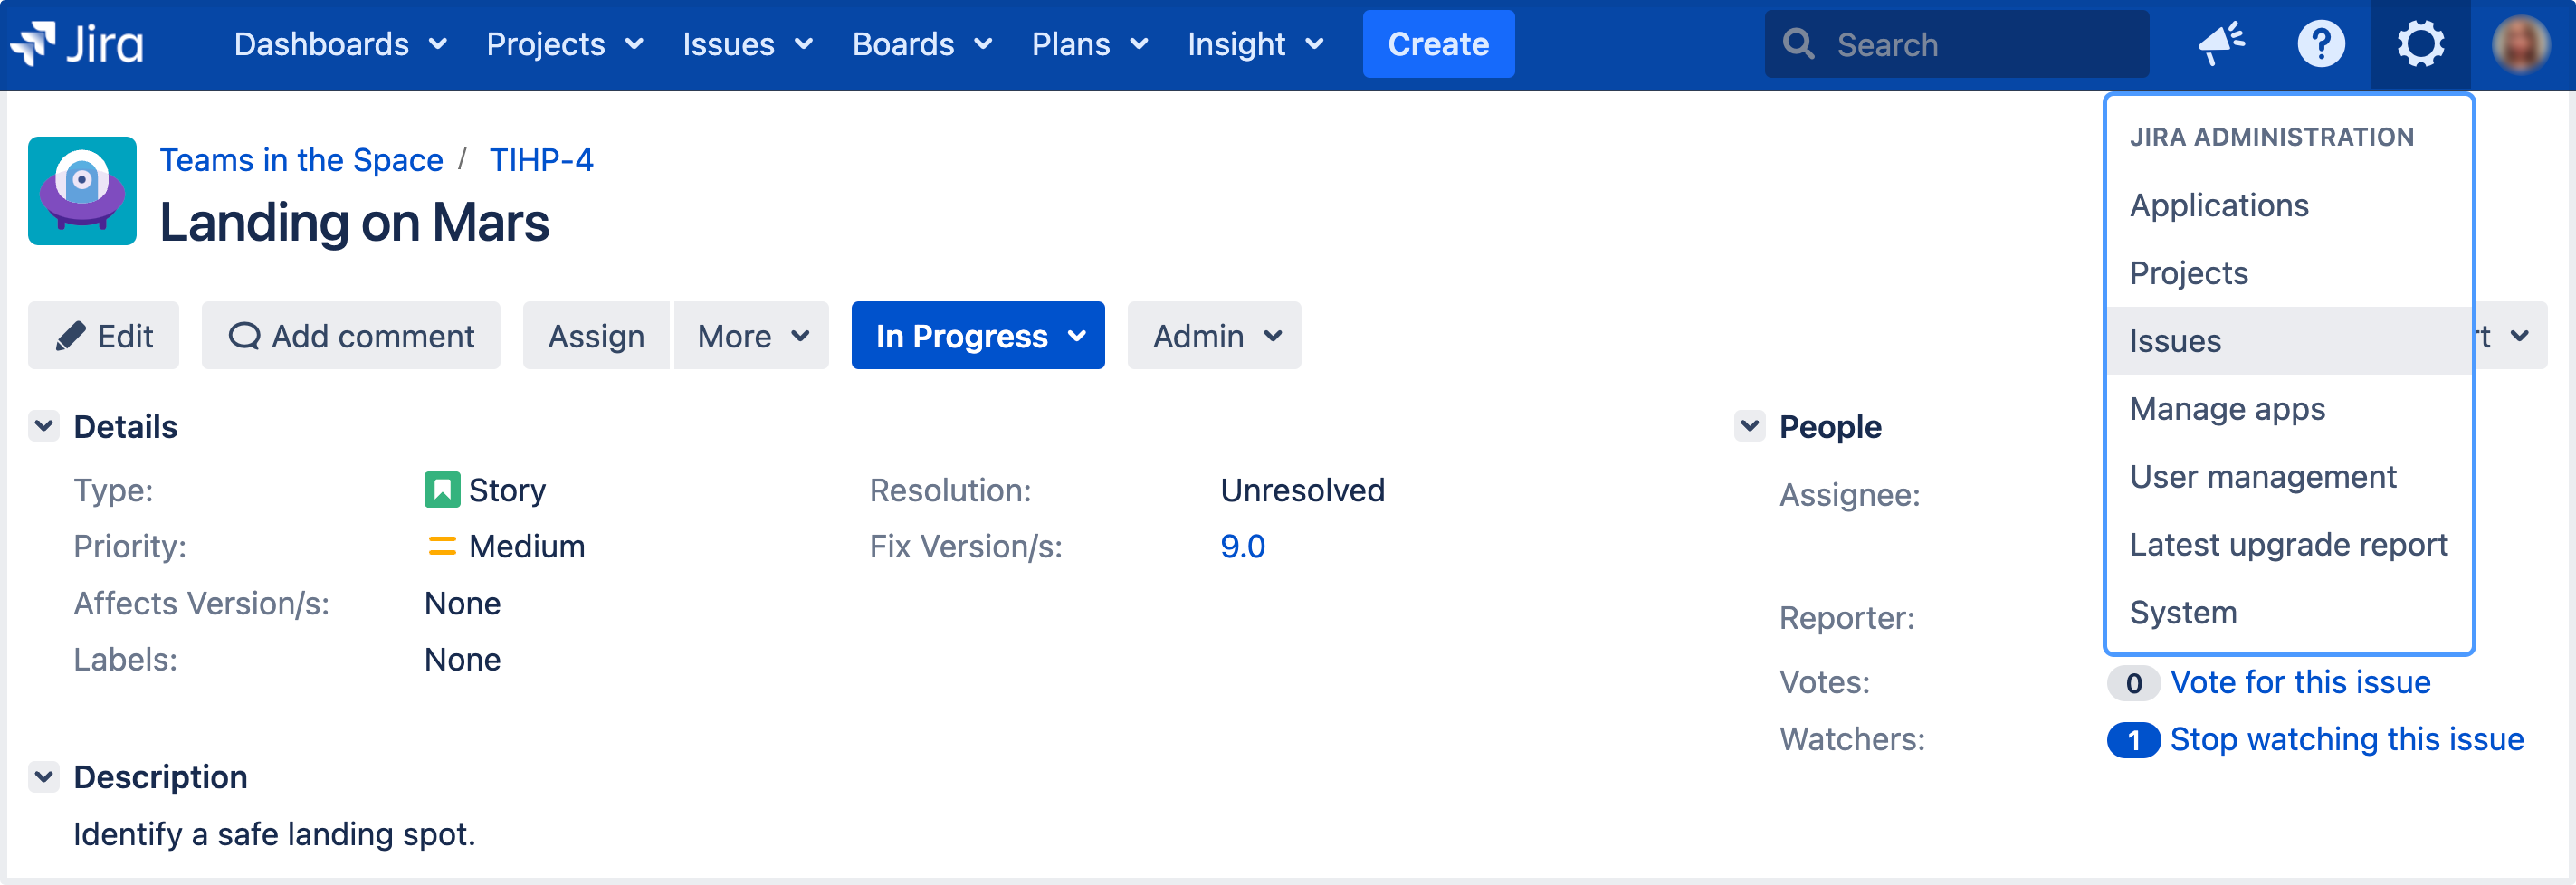
- In the upper-right corner of the screen, select Administration > Issues.

- Under Fields (the left-side panel), select Custom fields.
- Select Add custom field.

- In the Select a field type modal dialog, select All to make sure you can see all available field types.
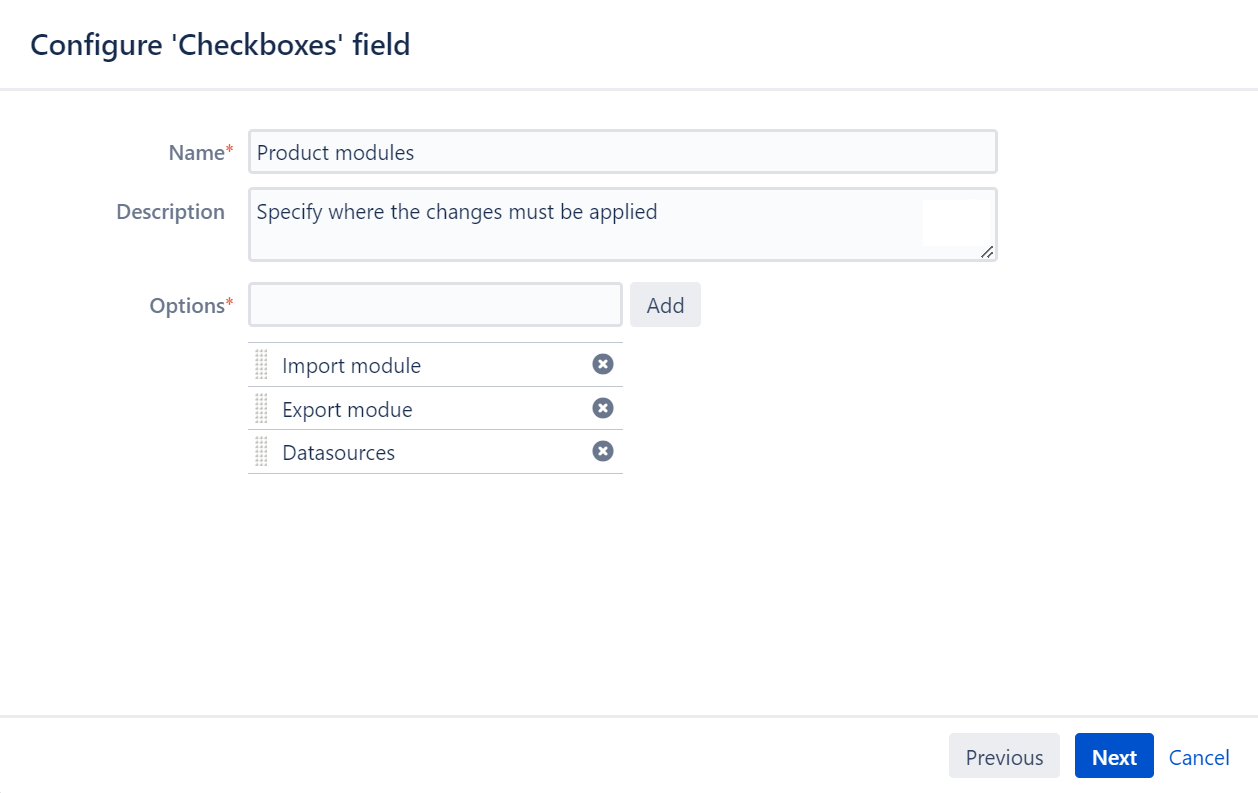
- Select the field type and select Next. For example, let’s select the Checkboxes field type.
- Configure the field by entering its name, description, and options if required. Select Next.

- You’ll see the Name as the custom field's title when entering and retrieving information on issues. You’ll see the Description beneath the field when creating new issues and editing existing issues, but not when browsing issues.
- Select projects where the custom field must be applied.
- Select Create.
Now, you can associate the new custom field with issue screens and then add the field to your issues.
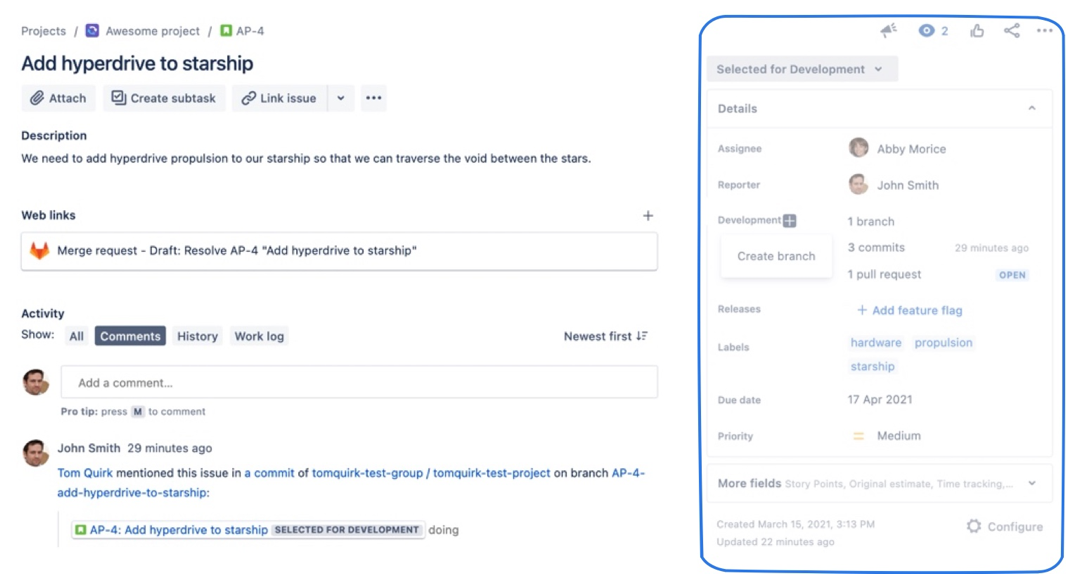
Add new field to the Issue Right Panel:
After Created the custom field, you can add the new field into the specific Screen
For example, if you want to add/remove custom field into project issue right panel:
Scroll down to the bottom and select Configure:

Inside Configure tab:
- Search for the Desired Field: Use the search bar within the field panel to locate the specific field you want to add. You can type the name of the field or browse through the categories.
- Drag the Field into the Layout: Once you've found the field, click and hold the field, then drag it to the desired location within your layout. Release the mouse button to drop the field into place.

Do you enjoy this blog post?


