Tutorial: Creating a GitHub CI/CD Action to deploy a Next.js Docker application to AWS EC2


Continuous Integration and Continuous Deployment (CI/CD) are essential practices for modern software development. By setting up GitHub Actions to automate your CI/CD pipeline, you can ensure that your code is tested and deployed efficiently. This guide will walk you through setting up GitHub Actions for deploying a Next.js project to an AWS EC2 instance.
Prerequisites
Before we begin, ensure you have the following:
- A GitHub account
- An AWS account
- An EC2 instance running on AWS
- Nodejs and NPM Installed
- Yarn installed (for faster and more secure deployments)
- Docker installed
- Docker-compose installed
- Basic knowledge of Git, Docker, and Next.js
Step 1: Create a Next.js Application
First, create a new Next.js application locally using Yarn.
yarn create next-app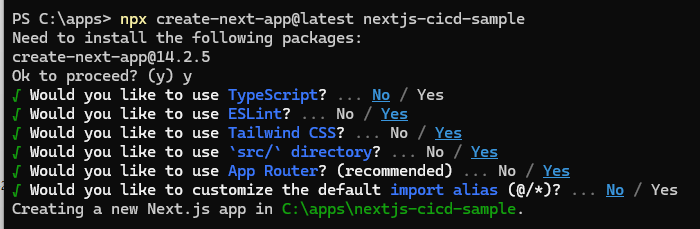
You can test the application locally to make sure everything is working:
yarn devStep 2: Dockerize the Next.js Application
Create a Dockerfile in the root of your project:
# Dockerfile

# Use an official Node.js image repository on Docker Hub as the base image
FROM node:20-alpine

# Set the working directory inside the container
WORKDIR /app

# Copy package.json and yarn.lock to the working directory
COPY package.json yarn.lock ./

# Install dependencies
RUN yarn install

# Copy the rest of the application code to the working directory
COPY . .

# Build the Next.js application
RUN yarn run build

# Expose the port the app runs on
EXPOSE 3000

# Set the environment variable to run the Next.js application in production mode
ENV PORT="3000"
ENV HOSTNAME="0.0.0.0"

# Start the application
ENTRYPOINT ["yarn", "run", "start"]
Dockerfile
Build and run the Docker container locally to ensure it's working:
# Build a docker image. By using '.', you're telling Docker to look in the current directory for the Dockerfile
docker build -t nextjs-cicd-sample .

# Run docker and mapping port 3000 from the container to port 3000 on your host machine
docker run -p 3000:3000 nextjs-cicd-sample
Step 3: Create a Docker-Compose YAML File
Create a docker-compose.yml file at root user:
# docker-compose.yml

version: '3'
services:
  web:
    image: nextjs-cicd-sample:latest
    ports:
      - "3000:3000"
docker-compose.yml file
Step 4: Upload your application to GitHub
You can either use Github CLI or install GitHub Desktop to upload your application to GitHub
If using Github CLI:
# Initialize a new Git repository in the current directory
git init

# Stage all files in the current directory for commit
git add .

# Create the first commit with the message "Initial commit"
git commit -m "Initial commit"

# Rename the current branch to 'main'
git branch -M main

# Add a remote named 'origin' pointing to your GitHub repository
git remote add origin <YOUR_GITHUB_REPO_URL>

# Push the 'main' branch to the 'origin' remote and set it as the upstream branch
git push -u origin main
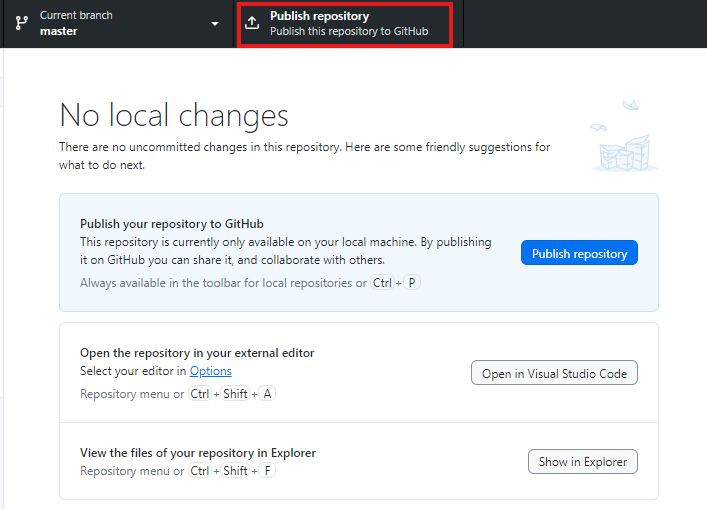
Upload using GitHub Desktop:
Add local repository to your github account using GitHub Desktop:
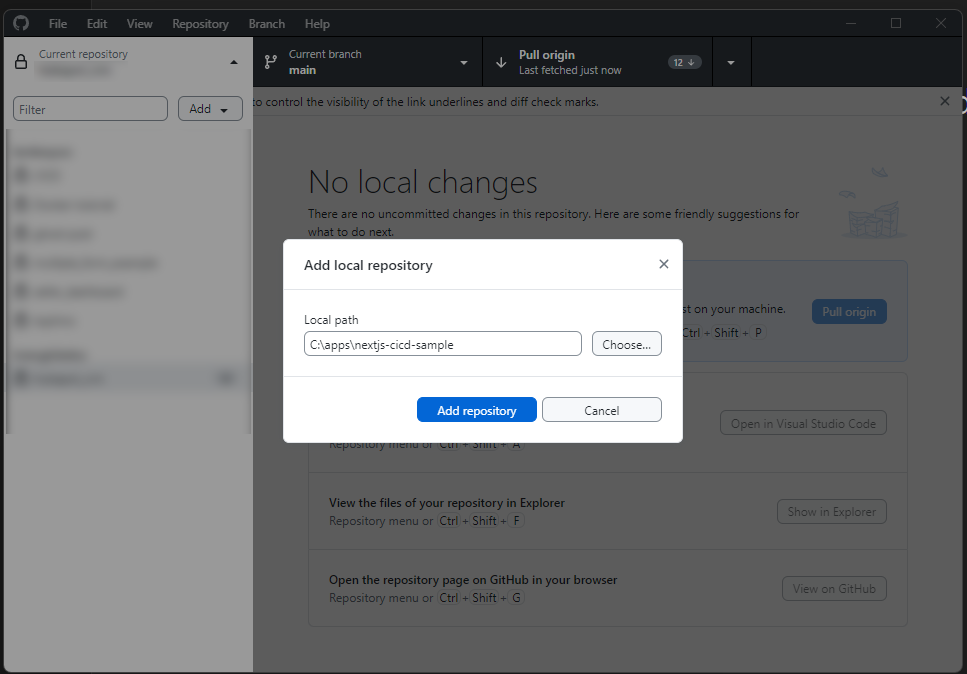
Publish repository to GitHub:
Step 5: Set Up GitHub Actions for CI/CD
- Create a
.github/workflows/deploy.ymlfile in your project
# deploy.yml

name: Deploy to AWS EC2

on:
  push:
    branches:
      - main

jobs:
  deploy:
    runs-on: ubuntu-latest

    steps:
      - name: Checkout code
        uses: actions/checkout@v3

      - name: Deploy to server
        env:
          PRIVATE_KEY: ${{ secrets.SSH_KEY }}
          HOST: ${{ secrets.SSH_HOST }}
          USER: ${{ secrets.SSH_USER }}

        run: |

          # Write "PRIVATE_KEY" var to file "private_key"
          echo "$PRIVATE_KEY" > private_key

          #Set 600 secure permissions for private_key (only file owner readable and writable)
          chmod 600 private_key

          # Using private_key to SSH to EC2 Instance and deploy code.
          # All text between << 'EOF' and EOF will be sent to the remote server for execution
          ssh -o StrictHostKeyChecking=no -i private_key $USER@$HOST << 'EOF'

            # Define the project directory
            PROJECT_DIR="nextjs-cicd-sample"

            # Clone the repository if it doesn't exist, otherwise pull the latest changes
            if [ ! -d "$PROJECT_DIR" ]; then
              git clone [email protected]:[AccountName]/nextjs-cicd-sample.git $PROJECT_DIR
            else
              # go to the directory
              cd $PROJECT_DIR
              git pull origin main
              cd..

            # fi is used to indicate the end of an if conditional statement
            fi

            # Go to the project directory
            cd $PROJECT_DIR

            # Stop and remove all unused images, volumes, networks, and stopped containers
            # Then build the Docker image at current directory
            sudo docker-compose down
            sudo docker system prune --all --volumes --force
            sudo docker build --no-cache -t [ContainerName]:latest .

            # Run the Docker container in the background
            sudo docker-compose up -d

          EOF
deploy.yml file
- Store GitHub Secrets
In your GitHub repository, go to Settings > Security > Secrets and variables and add the following secrets:
SSH_KEY: The private SSH key to connect to your EC2 instance (use the contents of your.pemfile)SSH_HOST: The public IP address of your EC2 instanceSSH_USER: The username for your EC2 instance (usuallyubuntufor Amazon Ubuntu)
- Clone your repository using SSH
- Install Git (if not already installed):
sudo apt update
sudo apt install git- Generate an SSH key (if you don't have one):
ssh-keygen -t ed25519 -C "[email protected]"
If you're using an older system that doesn’t support the ed25519 algorithm, you can use rsa:
ssh-keygen -t rsa -b 4096 -C "[email protected]"- To Add the SSH key to your GitHub account:
- Copy the SSH key to your clipboard:
cat ~/.ssh/id_ed25519.pub(Orcat ~/.ssh/id_rsa.pubforrsa.)
- Copy the SSH key to your clipboard:
- Log in to your GitHub account.
- Navigate to Settings > SSH and GPG keys.
- Click New SSH key, provide a descriptive title, and paste your key into the "Key" field.
- Click Add SSH key.
- Test the SSH connection:
ssh -T[email protected]
You should see a message like:

Step 6: Push your code to GitHub main branch
Finally, push your changes to the main branch of your GitHub repository. The action defined in deploy.yml will automatically trigger and deploy your code to the EC2 instance.
Step 7: Verify the Deployment
After pushing your changes, GitHub Actions will start running the workflow. You can monitor the progress in the Actions tab of your repository on GitHub.
- Check the Action Logs
Navigate to theActionstab in your repository and select the latest workflow run. You can view the logs for each step to ensure everything is running smoothly. - Verify on Your Server
Once the workflow completes, verify that your application is running on your EC2 instance by visiting the public IP address of your EC2 instance in a browser.
Conclusion
By following these steps, you've set up a robust CI/CD pipeline using GitHub Actions and AWS EC2. This setup ensures that your Next.js application is automatically deployed whenever you push changes to the main branch, streamlining your development workflow and reducing the risk of human error.
With this automation in place, you can focus more on developing features and less on the intricacies of deployment. Happy coding!
Do you enjoy this blog post?